...Qb6 — create two targets5...Qb6
The queen attacks b2, and it joins the pressure on d4 as soon as the pawn on c5 is exchanged. White cannot defend the center without thinking about both targets.
White closes the centre with 3.e5 and takes more space — but that space now rests on one pawn, d4. Black plays ...c5 and ...Nc6 against that pawn instead of chasing the one on e5, and saves the ...f6 break for when the pieces are ready.
Attack the base before you attack the head.
Black should not attack the e5-pawn directly. The first target is d4 — the pawn that supports White's center.
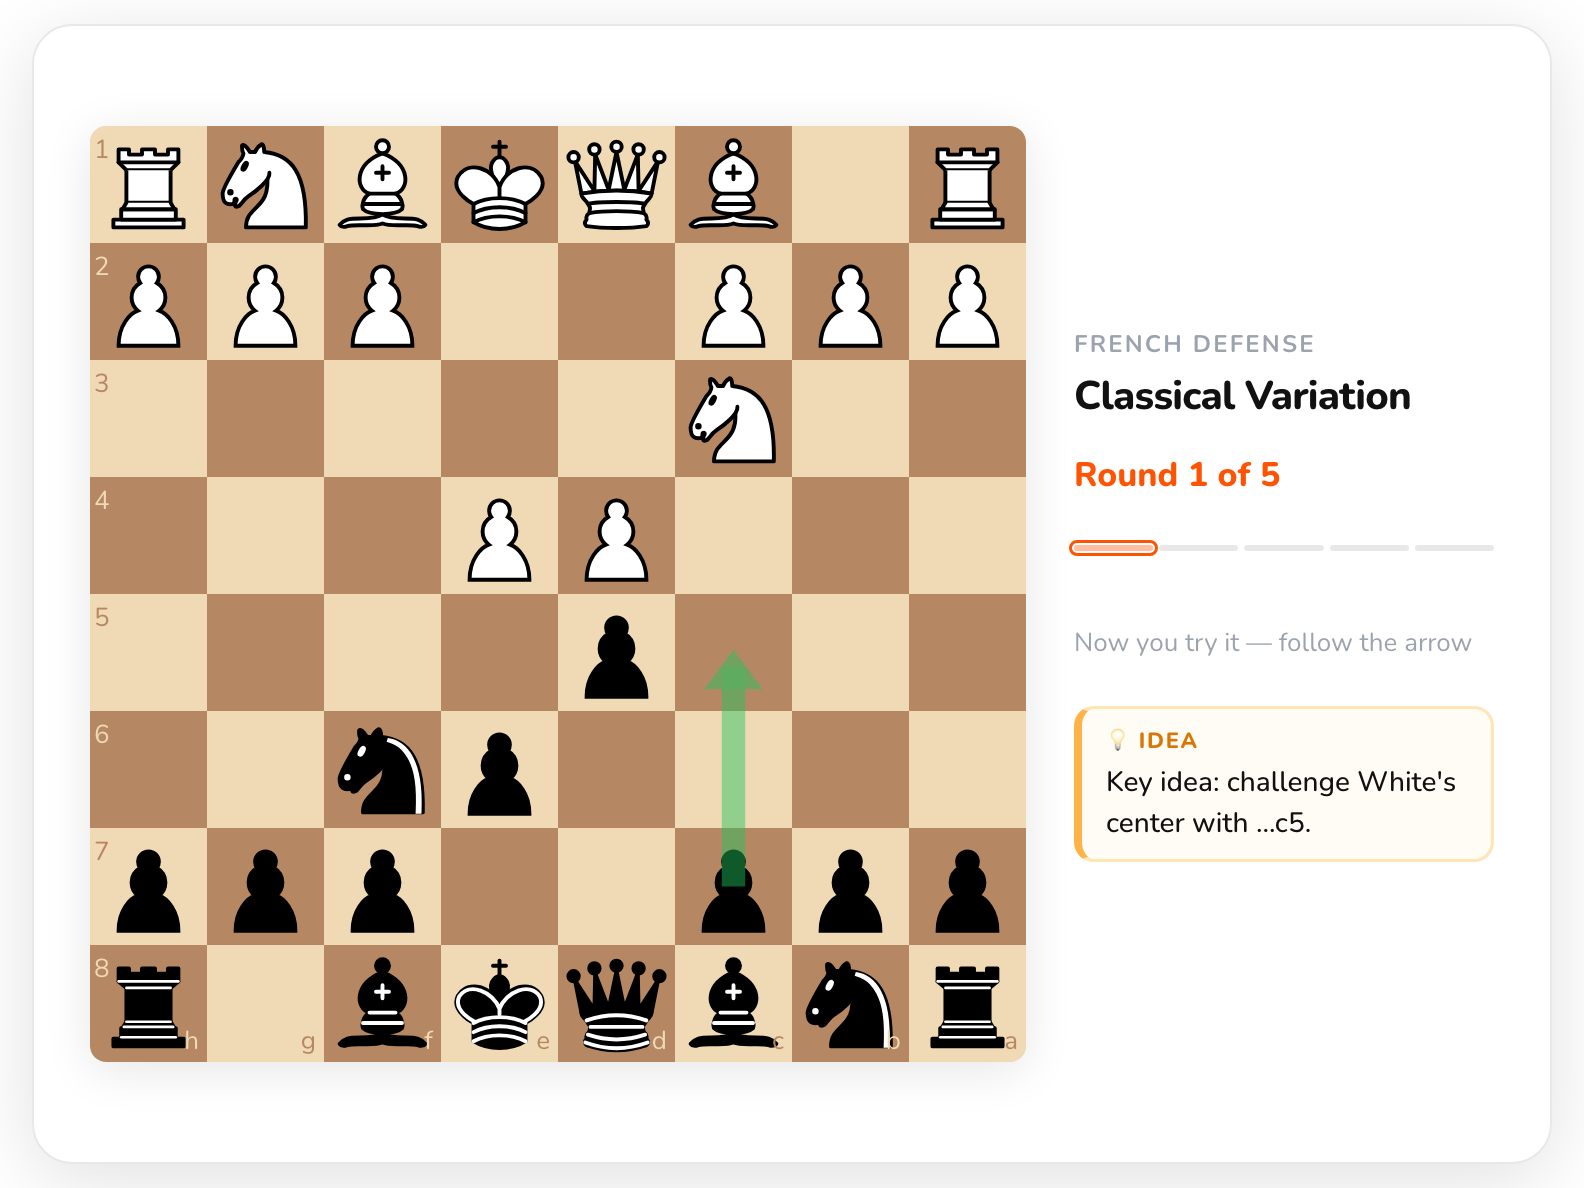
Play ...c5 before White has time to fully support d4. This is the move that gives Black active counterplay.
Develop with ...Nc6 and often ...Qb6. The knight adds pressure to d4, and the queen creates a second target on b2.
The move ...f6 challenges e5, but timing matters. Develop your pieces and make sure your king is safe before opening the position.
White wants to keep the center closed, protect d4, and use the extra space to build an attack.
Understanding White's plan helps you know when to increase the pressure and when to play ...f6.
The e5-pawn is the head of White's pawn chain. The d4-pawn is the base. If d4 becomes weak, the e5-pawn becomes harder to support. That is why Black normally attacks d4 first instead of chasing the advanced pawn directly. In this position, always check three things: how many pieces attack d4, how White protects it, and whether the ...f6 break is ready.
This is not three different repertoires. These are three repeating ideas of one plan.
The queen attacks b2, and it joins the pressure on d4 as soon as the pawn on c5 is exchanged. White cannot defend the center without thinking about both targets.
The knight cannot develop naturally to f6 because White controls that square. From h6, it can reach f5 and attack d4.
The bishop on c8 is often Black's least active piece. ...Bd7 develops it, connects the pieces, and supports the next stage of the plan.
In the Advance, White holds d4 with pieces. If Black grabs the pawn too early with 7…Nxd4, a check on b5 forks king and queen.
This line shows how Black attacks d4, improves the pieces, and prepares the right moment to challenge e5.
The French begins. Black answers 1.e4 by preparing ...d5 rather than playing it straight away.
Understand the idea behind every move
Train with explanations so you don’t just remember the move — you understand why it works.
If Black develops quietly, White gets time to support d4 and start a kingside attack. Challenge the center before White's setup is complete.
The break is important, but an early ...f6 can weaken e6 and expose the king. Build pressure on d4 and develop first.
The move ...cxd4 is often useful, but the timing matters. Check how White will recapture and whether your pieces are ready to use the open position.
You do not need to memorize every branch. Learn the structure, understand the repeating moves, and practice the same decisions.
Find the advanced pawn on e5 and the base of the chain on d4.
Look for ...c5, ...Nc6, ...Qb6, and the route ...Nh6-f5.
Repeat the key positions until the next move feels familiar.
Understand the opening. Don’t just memorise moves.
Understand the idea behind each move, then train it until you can find the right decisions in your own games.