The knight comes to f6 and attacks the e4 pawn...Nf6
The knight comes out and hits the pawn White has just defended. White has to deal with it now, which is the point: you are not developing quietly, you are asking a question.
After 3.Nc3 Black replies 3...Nf6: the knight comes out and attacks the e4 pawn. White pushes the pawn to e5 and takes space, and Black prepares ...c5 — a hit on the d4 pawn that holds the centre up.
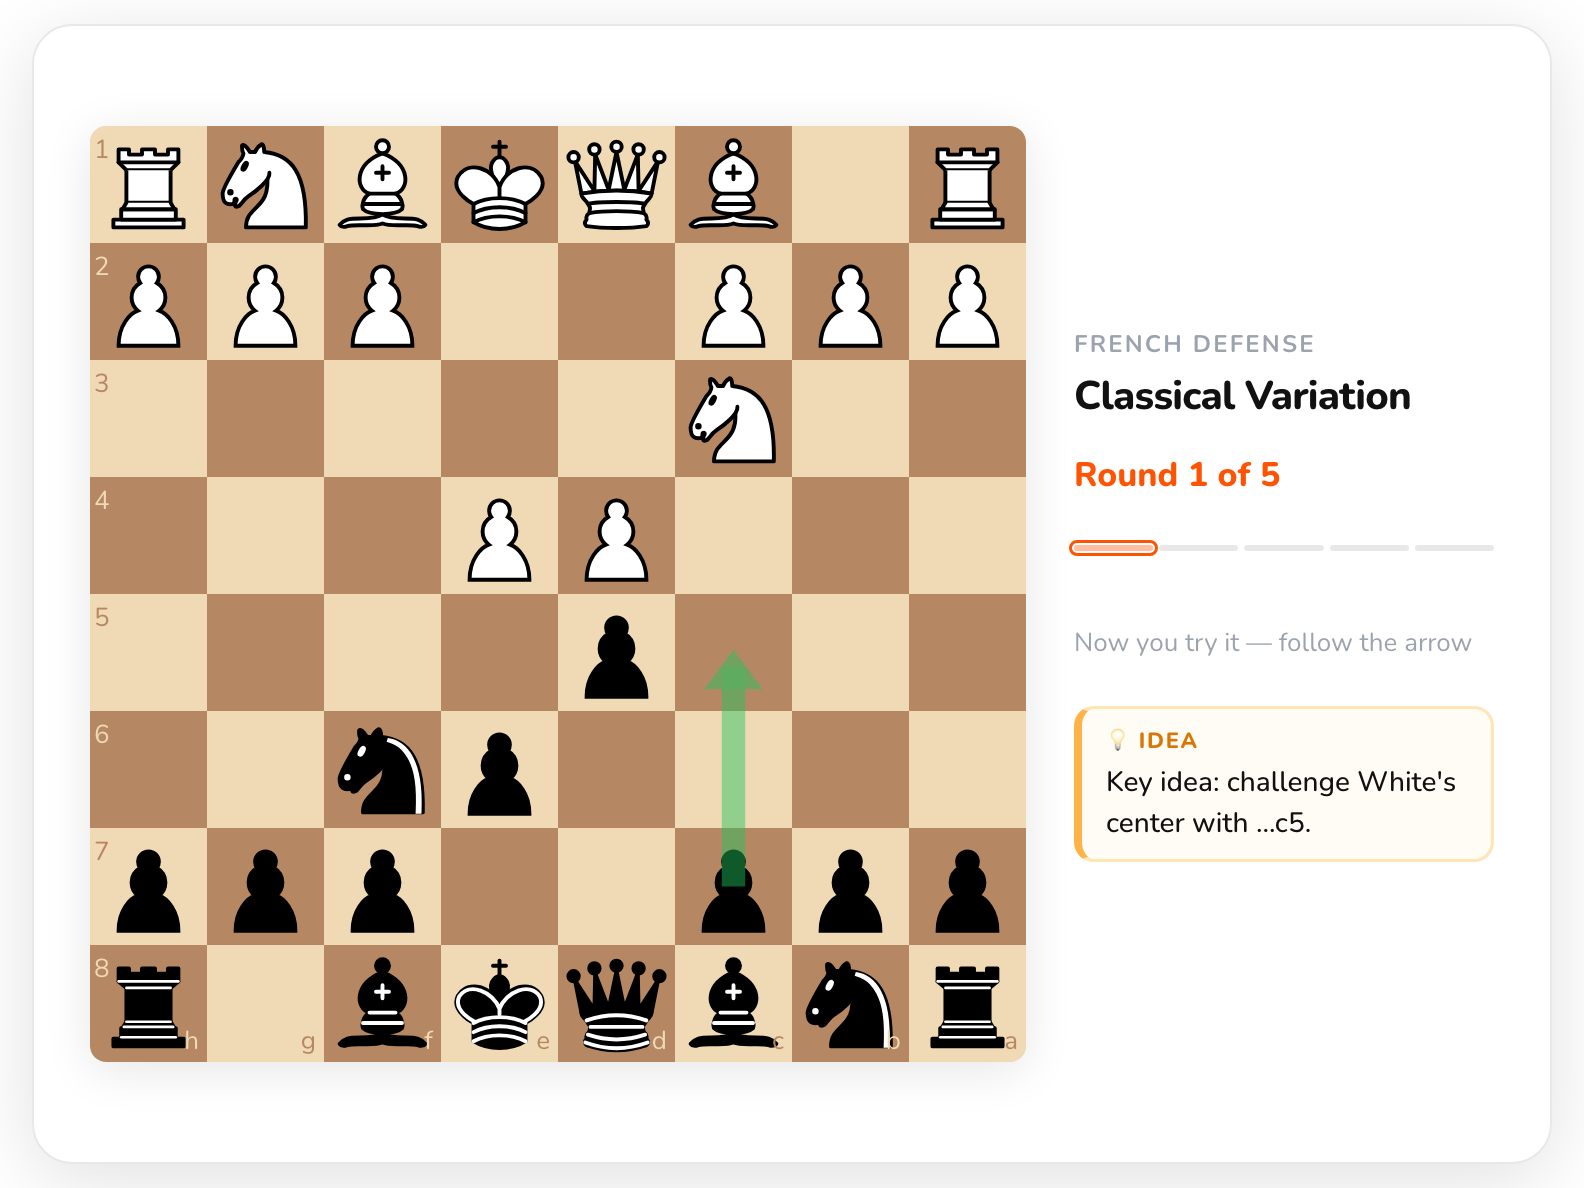
The arrow is the move the whole variation is built around: the c-pawn goes to c5 and attacks the d4 pawn — the one defending e5.
White gets the space, and pays for it by having to hold e5.
That is why d4 matters. It is the pawn holding e5 up — and unlike e5, you can attack it with pawns and pieces at once.
This is where the variation actually begins. Your pawn on c5 attacks d4; White has just defended it with the knight on f3. Everything you play from here adds another attacker or removes a defender — the arrow is the next one, ...Nc6. If you know only one position from this page, know this one: it is the one you will reach in almost every game.
Three moves make up Black's plan: ...c5, ...Nc6 and ...Qb6.
The c5-pawn attacks White's d4-pawn, the base of the centre. White now has to deal with pressure on d4 instead of developing freely.
The knight on c6 also attacks White's d4-pawn. The c5-pawn and the knight now pressure the same target, forcing White to defend it.
The queen moves to b6 and immediately eyes the b2-pawn. While Black's pawn remains on c5, the queen does not attack d4 directly. After the exchange on d4, the b6–d4 diagonal can open and add pressure to the centre.
The move that looks wrong and is not — worth two boards, because this is where most players at 1200 go astray.
The knight comes out and hits the pawn White has just defended. White has to deal with it now, which is the point: you are not developing quietly, you are asking a question.
The pawn on e5 attacks the knight, so it has to move again. d7 is the square: from there it supports the ...c5 break you are about to play, and it does not block the bishop or sit on the edge. Moving the same piece twice in the opening is usually a mistake — here it is the plan, and it takes one tempo you get back the moment ...c5 lands.
One line, all the way to where the theory stops. Step through it — the notes are on the moves where you have a decision.
Before the first move. You are Black. The board is set from your side, and the notes explain your moves and what White is trying to do about them.
Understand the idea behind every move
Train with explanations so you don’t just remember the move — you understand why it works.
Don't try to memorise the whole line at once. Take the 9 key positions in pieces: the basic set-up first, then the ...Nfd7–...c5 idea, and after that the pieces joining the pressure on the centre.
...e6 → ...d5 → ...Nf6
Get ...e6, ...d5 and ...Nf6 solid. The knight comes to f6 and attacks the e4 pawn, which makes White decide how to hold the centre.
...Nfd7 → ...c5
When the pawn goes to e5 and chases the knight off f6, take it back to d7. Then play ...c5 and attack the d4 pawn, the base of White's centre.
...Nc6 → ...Qb6
The knight on c6 adds a second attack on the d4 pawn. The queen on b6 creates a second target on b2, and after the exchange on d4 she can join the pressure on the centre.
Understand the opening. Don’t just memorise moves.
Understand the idea behind each move, then train it until you can find the right decisions in your own games.