The bishop comes to b4 and pins the knight on c3...Bb4
The knight cannot move while it shields the king on e1, so it stops defending the pawn on e4. That is why White usually has to push the pawn to e5 rather than defend the centre quietly.
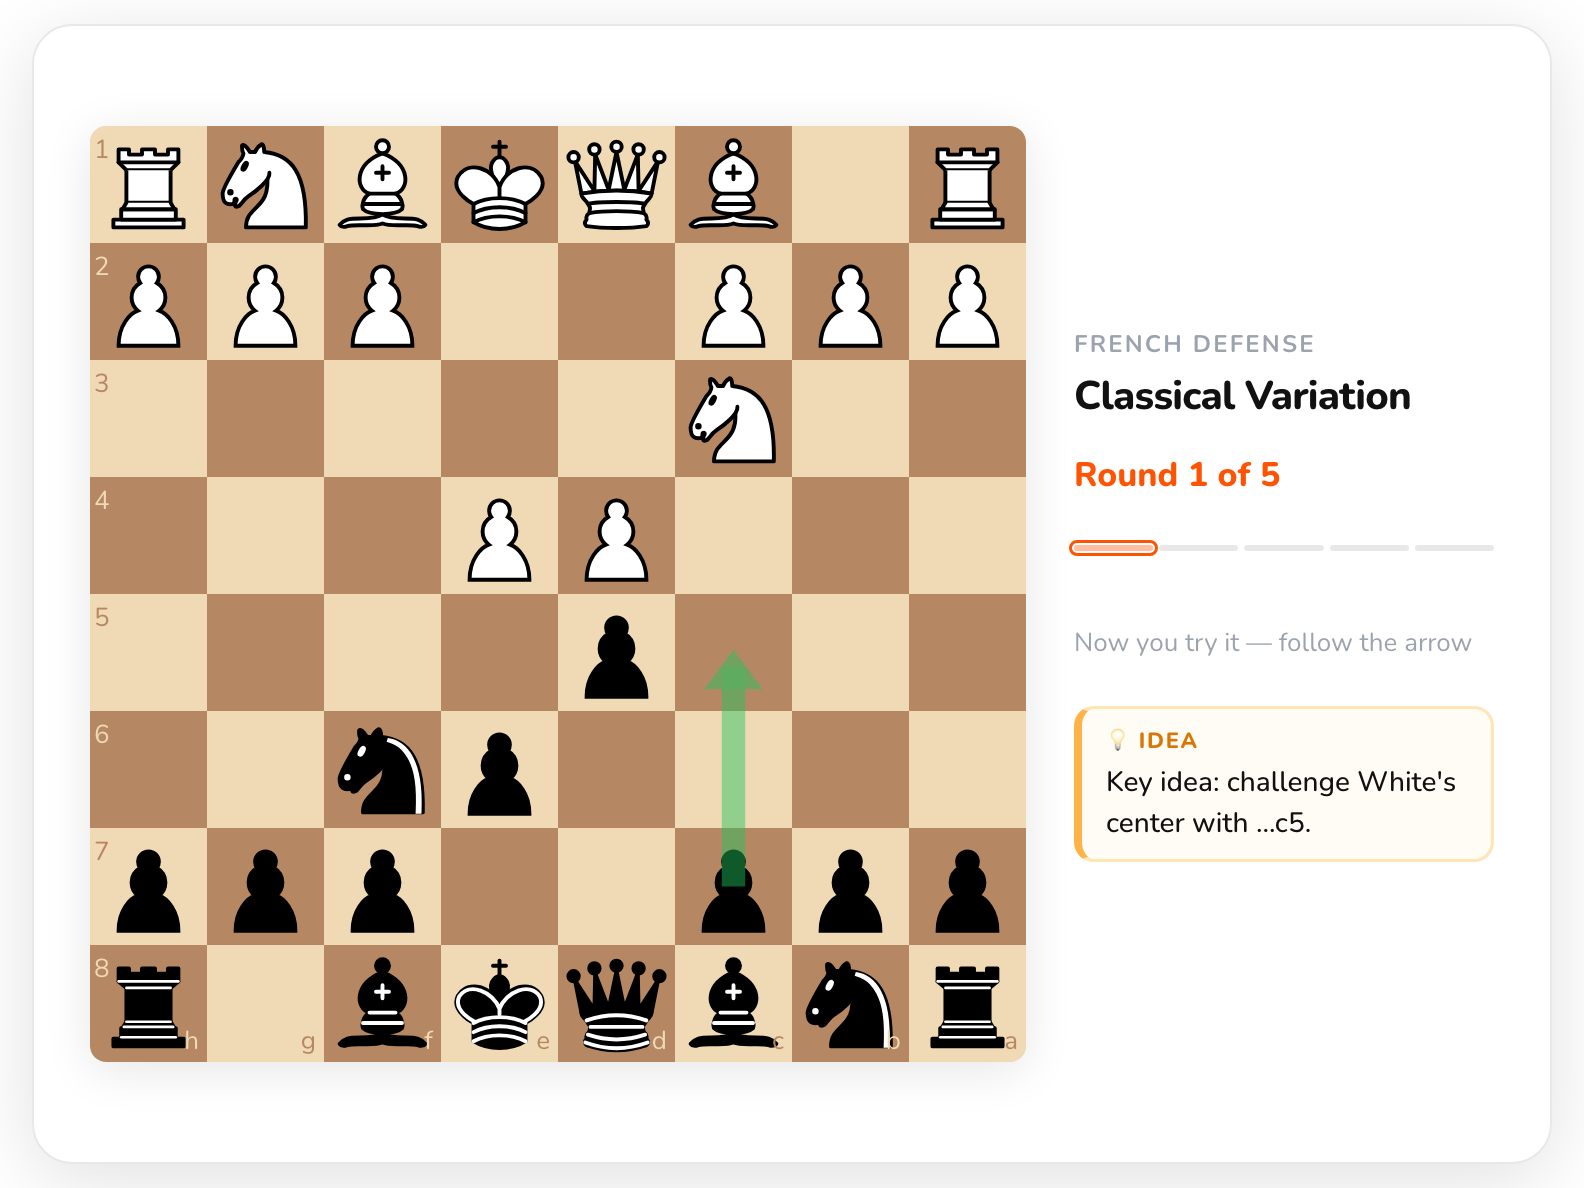
Black pins the knight with ...Bb4, challenges White’s centre with ...c5, and is ready to trade on c3 to damage White’s pawn structure.
The arrow is the counter-blow: the c-pawn goes to c5 and attacks the d4 pawn while White’s knight is still pinned.
Space first, then a question, then an attack on the kingside.
That is the deal this variation offers: White gets space, the two bishops and time; Black gets a permanent weakness to play against.
White has just played a2–a3 and asked the bishop the question. This is the moment the variation is named for: the arrow is the trade, and taking on c3 is the move Black is playing for, not a concession. Recognise this position and you know what the next move is without calculating.
Three moves make up Black’s plan: ...c5, ...Bxc3+ and ...Ne7.
The pawn on c5 attacks the pawn on d4, the base of White’s centre. Instead of defending passively, Black starts taking White’s pawn chain apart straight away.
The bishop on b4 takes the knight on c3. After the recapture bxc3 White has doubled pawns on c2 and c3 — a long-term target that will not go away.
The knight goes from g8 to e7. From there it can continue to f5 or g6, joining the play against the centre and the kingside.
A bishop for a knight, and a pin that pays for it — the trade most players hesitate over the first time.
The knight cannot move while it shields the king on e1, so it stops defending the pawn on e4. That is why White usually has to push the pawn to e5 rather than defend the centre quietly.
Retreating hands White a free tempo and leaves the knight where it is. Taking gives up the bishop pair, and in return White has to recapture with a pawn: the c-pawns are doubled and stay that way.
After 7.Qg4 White hits g7. Castling here is asking for trouble, Black must choose between 7…Qc7 and 7…cxd4, and only castle once it is prepared.
One line to where the theory stops. It ends with White two pawns up — that is not a mistake in the line, it is the bargain the Winawer makes.
Before the first move. You are Black. The board is set from your side, and the notes explain your moves and what White is trying to do about them.
Understand the idea behind every move
Train with explanations so you don’t just remember the move — you understand why it works.
Don’t try to memorise the whole line at once. Take the 9 key positions in pieces: the pin and the ...c5 break first, then the trade on c3, and after that the moves that keep your king safe while White grabs pawns.
...Bb4 → ...c5
The bishop pins the knight on c3, and the pawn hits d4 while that knight cannot help. Learn the two together — the break works because of the pin.
...Bxc3+ → bxc3
When White asks with a2–a3, take. Get used to giving up the bishop: the doubled c-pawns are the payment, and they are permanent.
...Ne7 → ...Qc7
The queen comes to g4 and the pawns on g7 and h7 are loose. Train ...Ne7 and ...Qc7 until they are automatic — that is the part of the variation that decides games.
Understand the opening. Don’t just memorise moves.
Understand the idea behind each move, then train it until you can find the right decisions in your own games.